I was on a huge smoothie kick a few years ago. I’d gather my frozen fruit (always blueberries and banana), vegetables (spinach, carrots, what-have-yous), superfoods (I’m talkin’ to you, chia and flax seeds!), liquid (alwaysalwaysalways almond milk), and ice, and blend until it was super smooth. I’d dump my luscious mixture into a mason jar and be on my way to work in under a minute. Gotta love the convenience of a breakfast smoothie.
I love how filling and nutritionally dense smoothies can be, but sometimes I’m after something a little lighter, yet ultimately refreshing to keep me cool and nourished through the hot summer days.
Enter: juice.
I’ve loved apple juice and orange juice since I was a kid, but I never knew one could make juice all by themselves with just a few simple kitchen tools, not including an expensive juicer! And just imagine the flavor customization: carrot-ginger-lemon, pear-apple-spinach, cashew-cinnamon-coconut…the world is your juice oyster!
Oh, um…please don’t put oysters in your juice.
How to Make Your Own Juice Without a Juicer:
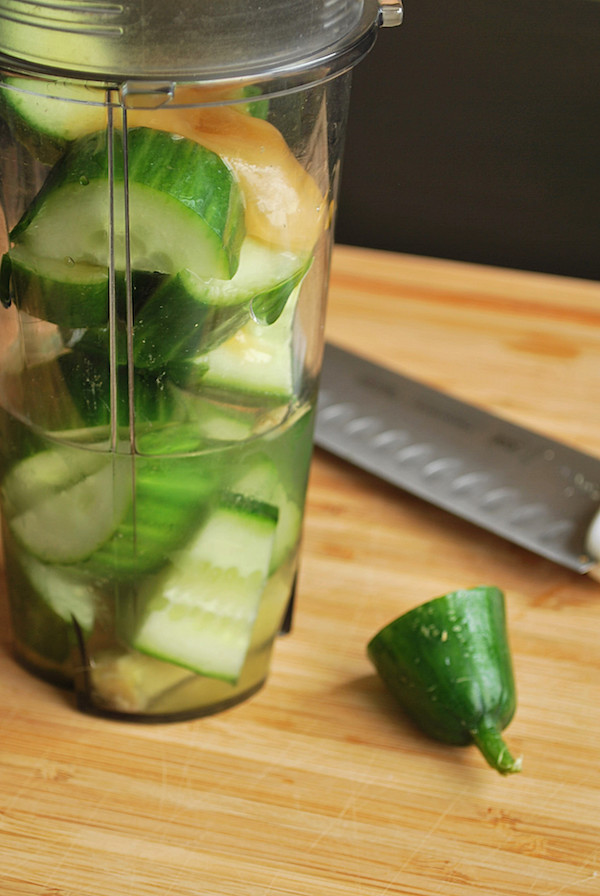
Step 1: Choose your ingredients! And place them all into a small blender! I’ll have the recipe for this particular juice up on the blog on Thursday (and boy is it worth the wait!), but you can choose whatever you’d like! Kale, carrots, apples, pears…the beauty of a homemade juice lies in the fact that it’s pretty much a blank canvas. Feel free to go crazy with your ingredient add-ins, but don’t forget to add some liquid to aid in the blending process!
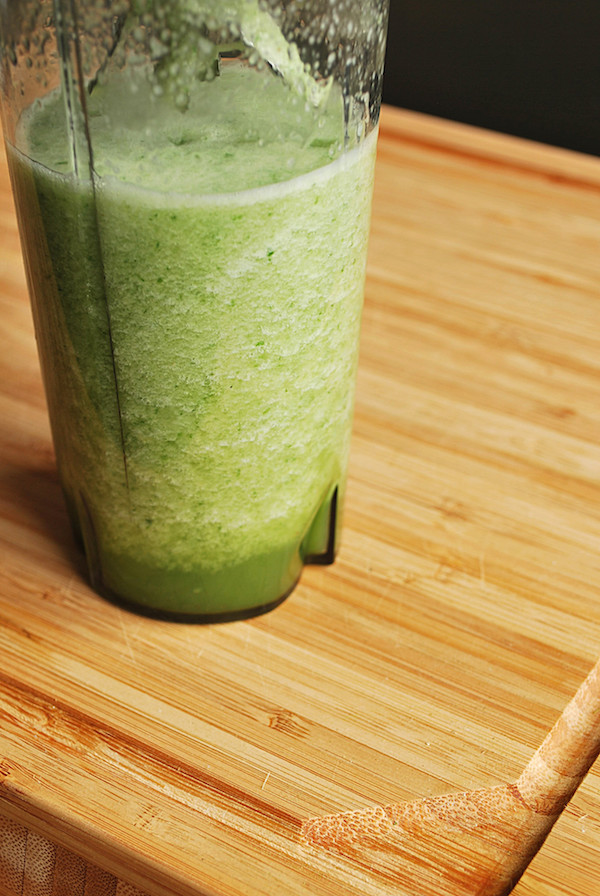
Step 2: Blend, baby blend! Blend until your ingredients are totally incorporated and smooth. I’m not gonna lie to you: t’s going to look like a hot mess. But don’t worry, we’ll alleviate your concern in the next step!
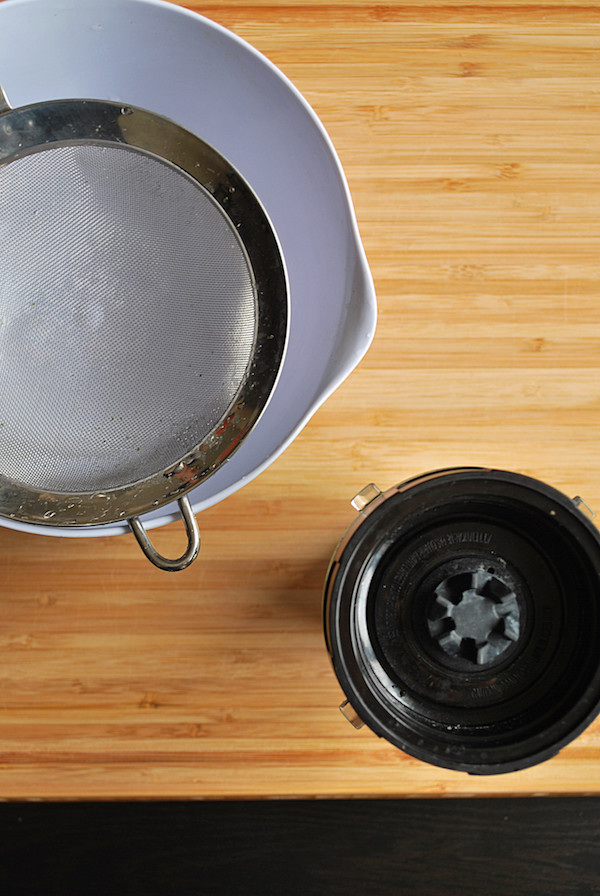
Step 3: Place a fine-mesh sieve/strainer over a bowl. If you have it, you can line this sieve with cheesecloth for even more straining power, but I didn’t bother this time around.
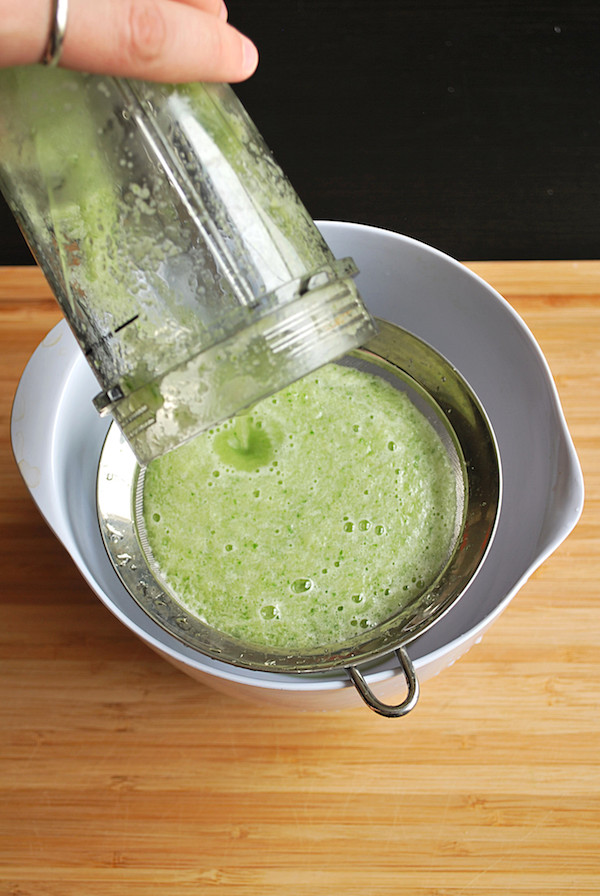
Step 4: Slowly empty your juice’s contents into the fine mesh strainer. The fibrous pulp will stay in the sieve, while the super duper smooth juice will drain into the bowl.
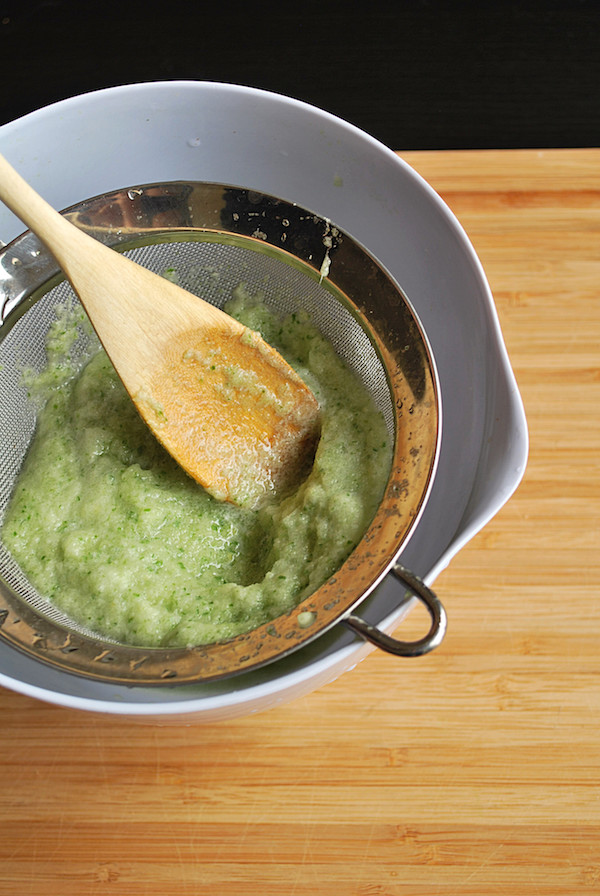
Step 5: Using the back of a spoon or measuring cup, push the pulp against the sieve, making sure that all of the juice has drained into the bowl below. Be sure to keep all of the pulp in the sieve. After all of the juice has drained, discard all pulp. Repeat Step 4 and Step 5 if you’d like to double-strain your juice, ensuring that your juice is totally pulp-free.
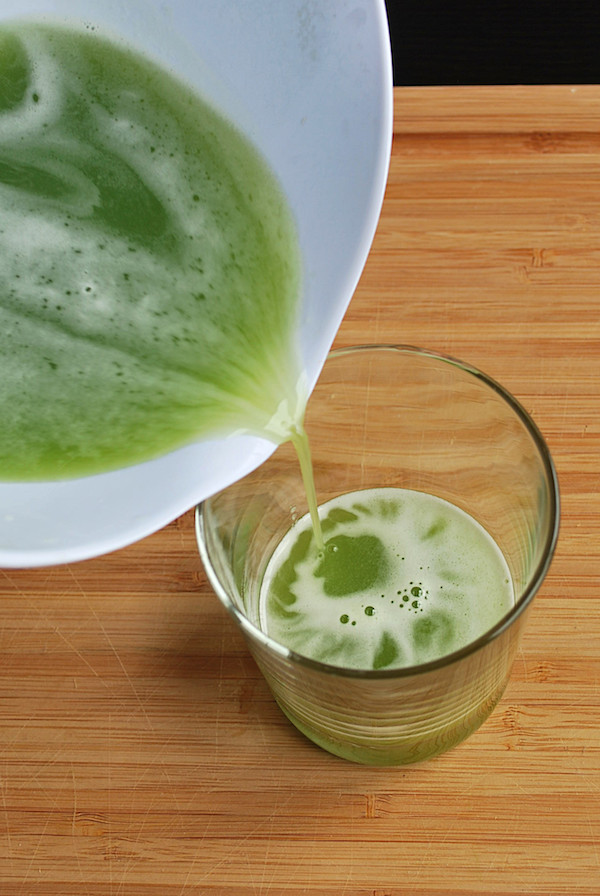
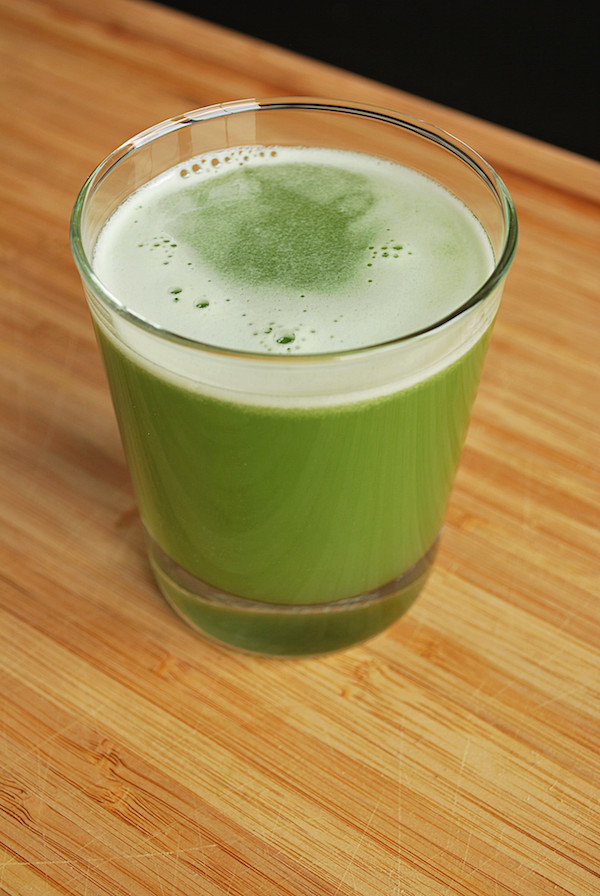
Step 6: Pour your juice into a cup and enjoy!
There you have it, folks: how to make your own juice without a juicer in six simple steps! There’s no need to dish out hundreds of dollars for a fancy-schmancy juicer – a few kitchen staples are all you need for one spectacular homemade juice!
Be sure to stop back on Thursday for the recipe for the juice I used in this tutorial – it’s fresh, sweet, and a little bit spicy! You won’t want to miss it! Until then, have fun customizing your ultimate juice, and be sure to leave your favorite recipe in the comments!
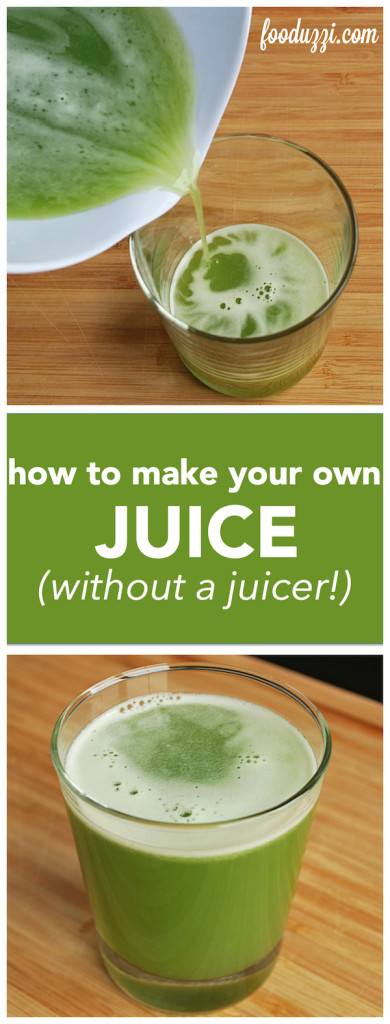
How to Make Your Own Juice Without a Juicer
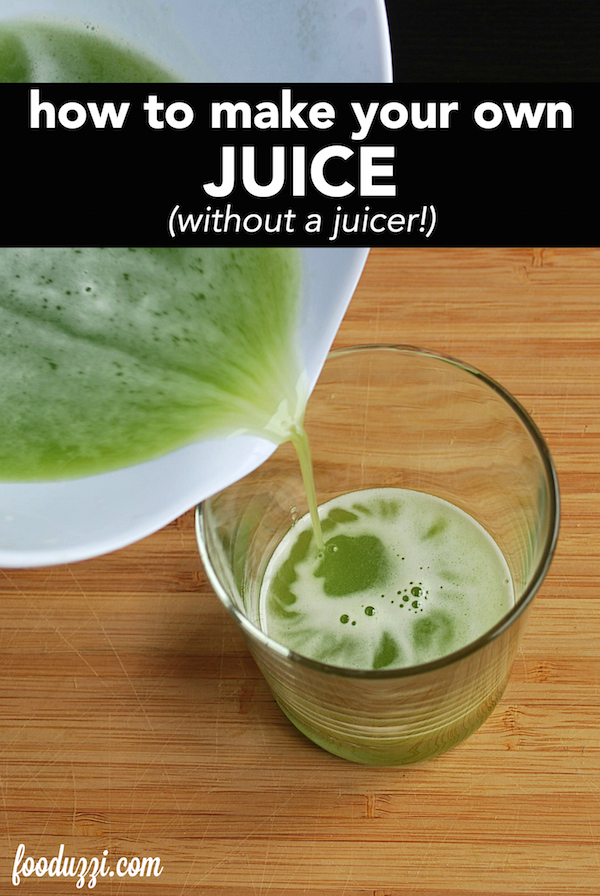 https://www.fooduzzi.com/wp-content/uploads/2015/07/How-to-Make-Your-Own-Juice.jpg
| Prep: | Yield: serves 2-3 | Total: |
Yes, it's possible and totally delicious! Read on for step-by-step photos showing you how to make your own juice without a juicer!
You'll Need...
- juice ingredients (fruits, vegetables, herbs, spices, liquids, etc.)
- 1 small blender
- 1 fine-mesh sieve
- 1 bowl
Directions
- Choose your ingredients! And place them all in a small blender! I'll have the recipe for this particular juice up on the blog on Thursday (and boy, is it worth the wait!), but you can choose whatever you'd like! Kale, carrots, apples, pears...the beauty of a homemade juice lies in the fact that it's pretty much a blank canvas. Feel free to go crazy with your ingredient add-ins, but don't forget to add some liquid to help the blending process!
- Blend, baby blend! Blend until your ingredients are totally incorporated and smooth. I'm not gonna lie to you: t's going to look like a hot mess. But don't worry, we'll alleviate your concern in the next step!
- Place a fine-mesh sieve/strainer over a bowl. If you have it, you can line this sieve with cheesecloth for even more straining power, but I didn't bother this time around.
- Slowly empty your juice's contents into the fine mesh strainer. The fibrous pulp will stay in the sieve, while the super duper smooth juice will drain into the bowl.
- Using a spoon or measuring cup, push the pulp against the sieve, making sure that all of the juice has drained into the bowl below. Be sure to keep all pulp in the sieve. After all of the juice has drained, discard all pulp. Repeat Step 4 and Step 5 if you'd like to double-strain your juice, ensuring that your juice is totally pulp-free.
- Pour your juice into a cup and enjoy!
Stay classy, Internet friends!
P.S. Follow me on Instagram, Twitter, Facebook, Pinterest, Bloglovin‘, Tumblr, and Snapchat! If you try any of my recipes, be sure to use #fooduzzi! I’d love to see your whole food creations!

This is such a great article Alexa! Hopefully more people will start juicing after they read it and realize that they don’t have to go out to buy a juicer to start juicing. They can simply use their existing blender!
Thank you so much, Denise! I’m really glad you loved this article! Homemade juice is so simple – I hope this resource can help more people start juicing, too!
I wish I knew about this before I spent money on an expensive juicer. This is a great and convenient idea!
RIGHT?! This is SERIOUSLY one of my favorite kitchen hacks, Nicole!! Love love! Definitely give my Cucumber Ginger Juice a try!
THIS IS PURE GENIUSNESS. I just thought you should know. I am trying “Raw Until 4” next week so I am definitely going to use this trick to make juice for one of the days! THANK YOU THANK YOU THANK YOU.
Thank you so much!! I was so excited when it worked out :) Raw Until 4 sounds like a great program – be sure to stop back and let me know what you think of this method!
How much liquid should you put in?
Just enough to get it to blend. Start with 1/2 cup and increase from there!