Don’t you love when failures turn into epicness?
I do. And here’s the proof.
So. Let’s flash back to this past weekend. I got all of the ingredients for making simple, baked falafel – herbs, lemon, olive oil, garlic, onion, chickpeas…the works.
I got up bright and early, sucked down my coffee, and then got to work. And that work proved to be a dis-as-ter.
Omg. First? The onion chunks were way too big. And WAY too strong. Biting into a practically raw onion chunk in the middle of a falafel? Not so fun. Same with the giant parsley leaves. No one needs that much parsley in one bite. Trust me.
And then: the chickpeas. We’ve had luck making falafel with chickpeas before, but I think I processed this batch way too much (you know, trying to get those onion and parsley pieces smaller), and the mixture ended up totally mushy. Plus, I didn’t add enough flour to the mixture, so when it came time to actually handle the falafel, they ended up crumbling.
*facepalm* What a way to start a weekend, right?
But then…I had an idea. A delicious, wild, totally unconventional idea. Why not swap out the chickpeas…for quinoa?
Woah. Woah woah woah.
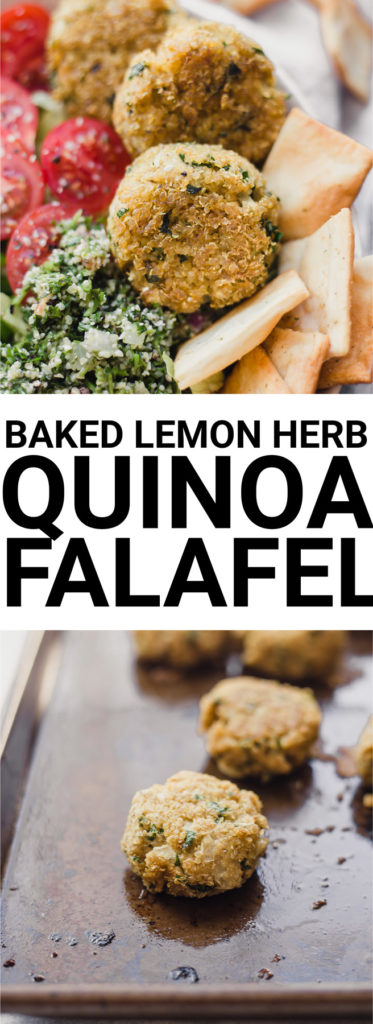
Mind-blowing. And while I’m the first to admit that these aren’t your classic falafel (they’re completely bean-free!), I think they’re more fun and totally worthy of being a falafel substitute!
Let’s get into it, friends. The only things standing between you and quinoa falafel deliciousness are three steps:
- Sauté your onion and garlic. Remember Raw Onion Town we desperately wanted to escape before? It happens by pre-cooking your onion and garlic. It takes only a few minutes, and they get nice and soft which makes the blending portion of this recipe (step 2) a lot easier. PLUS it just tastes so much better this way.
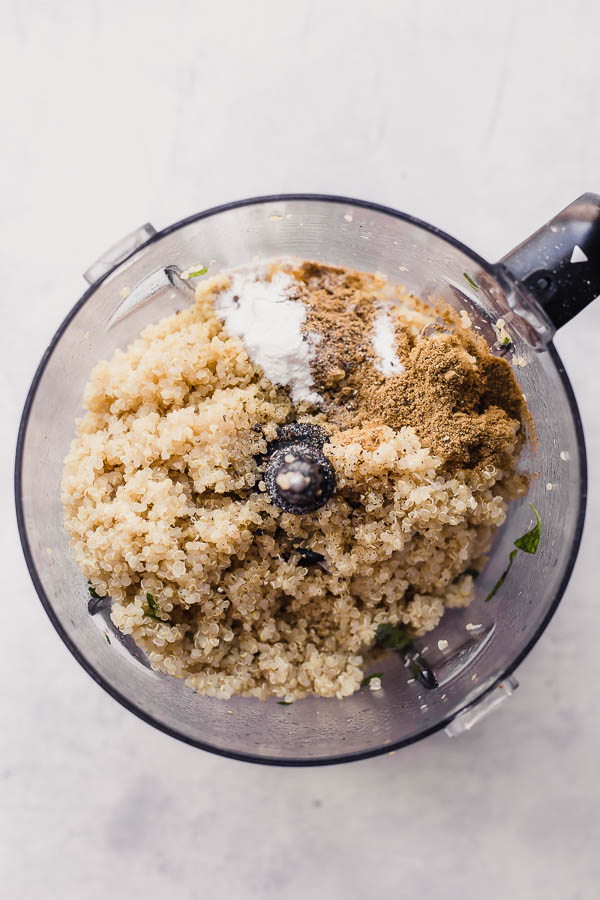
- Blend blend blend. First, you’ll add your lemon zest, lemon juice, sautéed onion and garlic, and parsley in the food processor and process that first. This gets rid of that big chunks of everything problem. Then you’ll add your warm quinoa and process until it almost looks like a dough. It started to ball up like dough does right before I stopped my food processor and it worked perfectly!
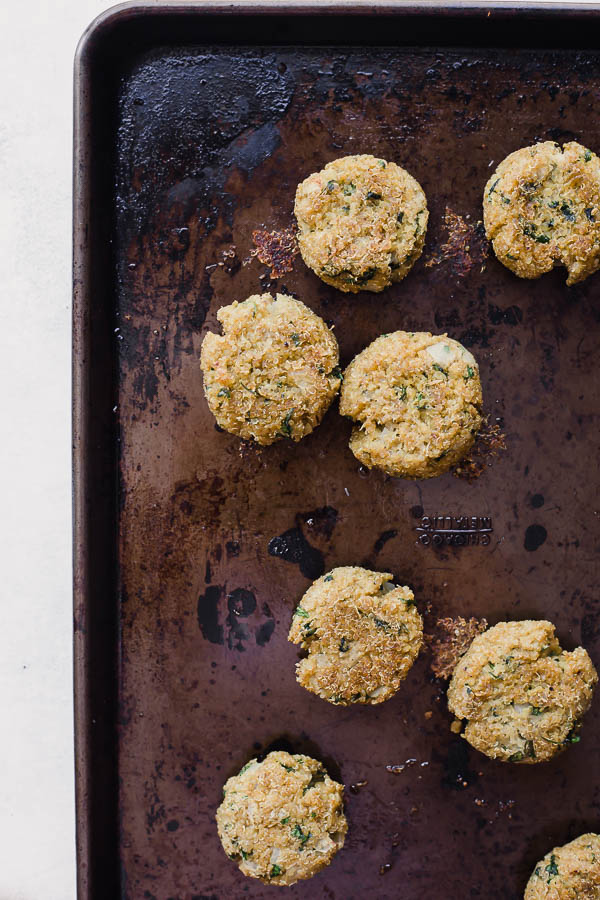
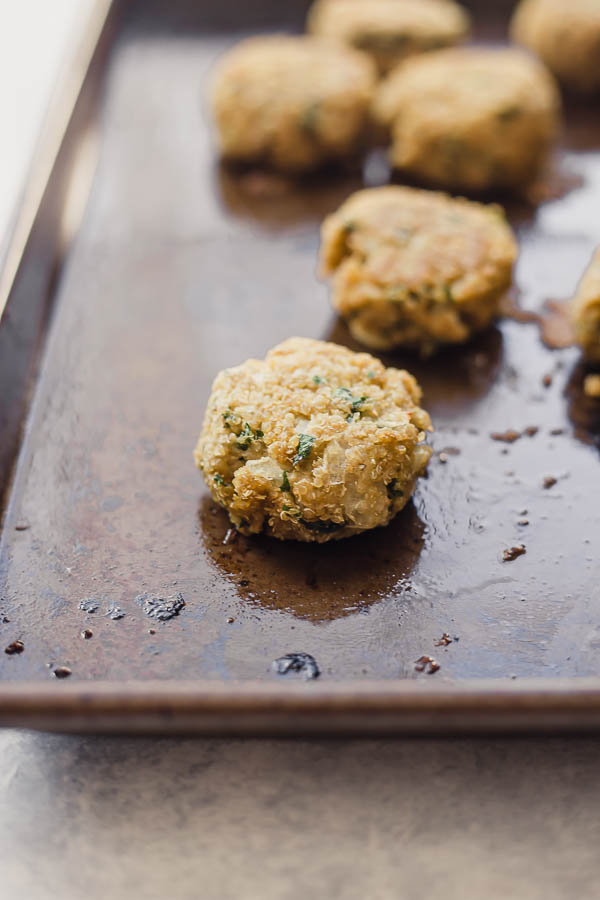
- Bake until crispy. YES I said crispy. These little buggers are perfectly crispy on the outside, while staying moist (sorry) and tender on the inside. It’s a culinary marvel if I ever did see one. And it all is thanks to Mark Bittman’s falafel recipe. In it, he suggests to liberally coat your baking sheet with oil and then brush the tops of each falafel with oil so that they get nice and crispy. That’s what we’re doing here, and all I can say is that it totally, 100% works.
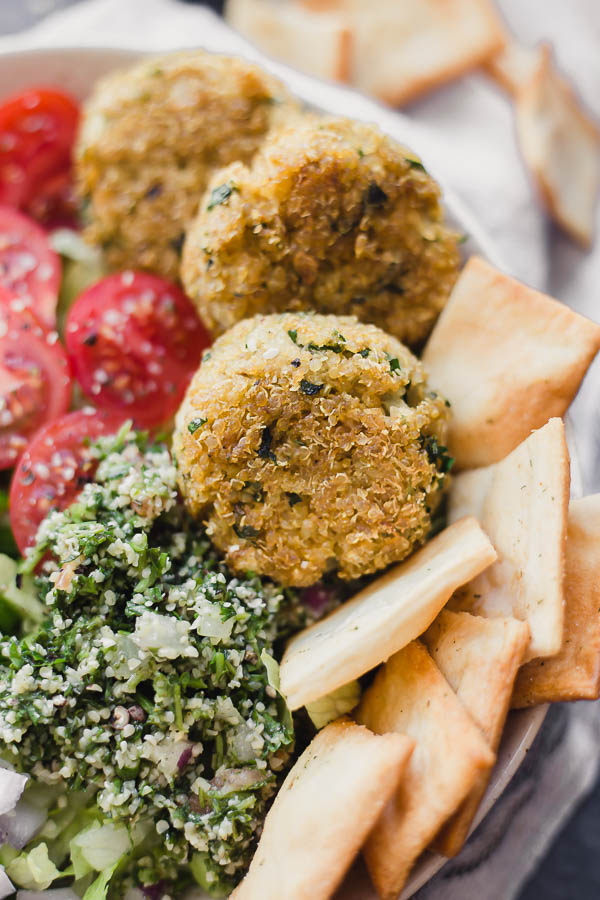
And that’s that! Non-traditional quinoa falafel at your service for your consumption pleasure. Eat them on a salad (more on that soon), in a grain bowl, in a pita, in a taco, and any other way your heart desires.
I hope you love these, friends!
Baked Lemon Herb Quinoa Falafel
 https://www.fooduzzi.com/wp-content/uploads/2018/01/baked-lemon-herb-quinoa-falafel-4.jpg
| Prep: | Cook: | Yield: 10 patties | Total: |
An easy, non-traditional falafel recipe that's full of flavor! Naturally vegan and gluten free, and perfect for topping grain bowls, salads, pita sandwiches, and more!
You'll Need...
- 1 cup quinoa
- 1 Tbsp. olive oil, plus more for greasing the pan
- 1/2 cup roughly chopped sweet onion
- 3 large cloves garlic, minced
- 1 lemon, zested
- 1 Tbsp. lemon juice
- 1 large handful flat-leafed parsley
- 2 tsp. cumin
- a pinch of cayenne (optional)
- 1/2 tsp. baking soda
- salt + pepper
Directions
- Preheat your oven to 375 degrees F. Grease a baking pan with oil.
- Cook your quinoa according to package instructions. Allow time to cool for about 15 minutes before proceeding with the rest of the recipe.
- Place a small saucepan over medium heat. Add your oil and once hot, add your chopped onion and garlic. Sauté, stirring every so often, until your onion is fairly translucent, being careful not to burn your garlic.
- Add the mixture (including the oil) to a food processor with your lemon zest, lemon juice, and parsley, and pulse until broken down some. The quinoa doesn't blend for too long, so you should get the onion and parsley chunks to just about the size you want them in your final product.
- Add the cooked and slightly cooled quinoa, cumin, cayenne, baking soda, and salt and pepper and pulse until the quinoa starts to pull away from the sides like dough. You don't want to puree it totally. You do want it to look like a slightly pureed quinoa mixture that's sticky. If it's too dry, add a bit of olive oil (starting with 1 tsp.) and mix by hand. Taste, and adjust seasoning as necessary.
- Form into 10 balls (you may want to wet your hands slightly if the mixture is too sticky), place them on your prepared baking pan, and flatten them slightly with the back of a measuring cup. Brush the tops with more oil.
- Bake for 20 minutes, then carefully flip and bake for another 10. Allow to cool on the baking sheet, then enjoy!

Inspired to purchase a blender to try this! I would suggest parchment paper to protect your baking dish.
That’s a great suggestion, Shirley! You can definitely use parchment. :)
YES I love when failures turn into epicness. So so rare… unless it involves chocolate or is Italian food. Because a homeboy has to REALLLLLY mess both of those things up to make them taste bad.
One thing I have never made is a falafel. I think I have to change that.
That is SO true!! I kind of love chocolate “failures.” Tastes great, and it doesn’t need to be photographed! ;)
I have a question regarding the quinoa. One cup of dry quinoa makes quite a bit of cooked quinoa. Do I use all the cooked quinoa? Or should the recipe read 1 cup of cooked quinoa. As I’m in the middle of it, I’m going to play it by ear! I’ll let you know! This looks amazing!
Hey, Suzy! I’m sorry I’m just getting back to you now – you use the entire batch in the falafel recipe. I hope they turned out tasty!
Thanks Alexa! I did, and they were!! I yielded 12 balls and they were pretty large – I’d say a tad larger than a golf ball. Instead of brushing with oil, I poured a bit into my hands after the balls were formed and rubbed them gently before placing them back on the cookie sheet. I think I’d use parchment paper the next time. The flavor was “husband-approved!” You don’t get any better than that! I’d like to reduce the size I think. Any issues with that? Freezability? For toting to working with my salads they will be wonderful!