The happiest of holidays to you, my friend.
Today we’re going to:
- Make your house smell amazing.
- Decorate for the holidays on the cheap.
- DIY a fun, kid-friendly holiday craft.
- Set yourself up for delicious-smelling ornaments for years to come!
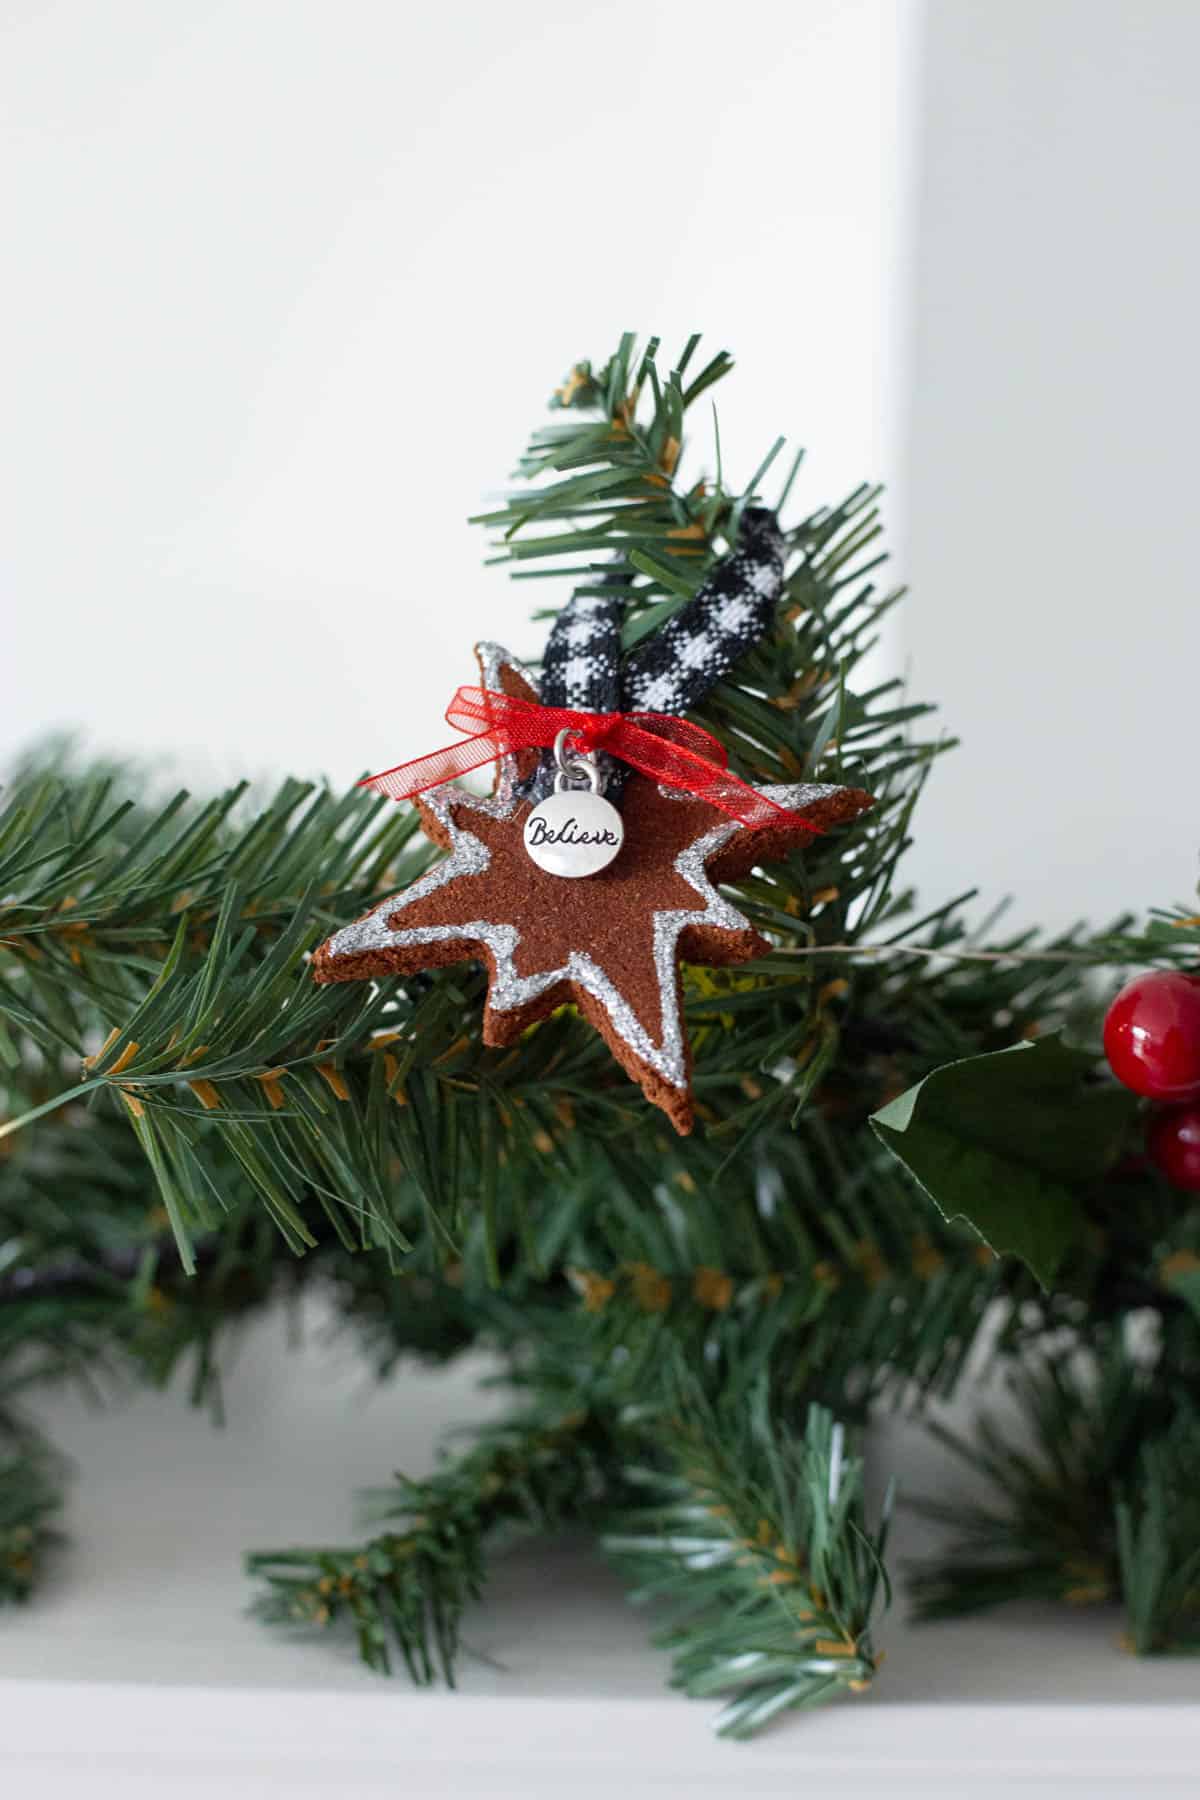
Have you ever made cinnamon ornaments before? We had them for our tree when I was younger, and I always looked forward to opening the bag they were kept in because they smelled so delicious.
And they smelled that way for 20ish years. Every year, without fail, the sweet, spicy cinnamon aroma would perfume our Christmas tree and make the holiday vibes that much more cozy and festive.
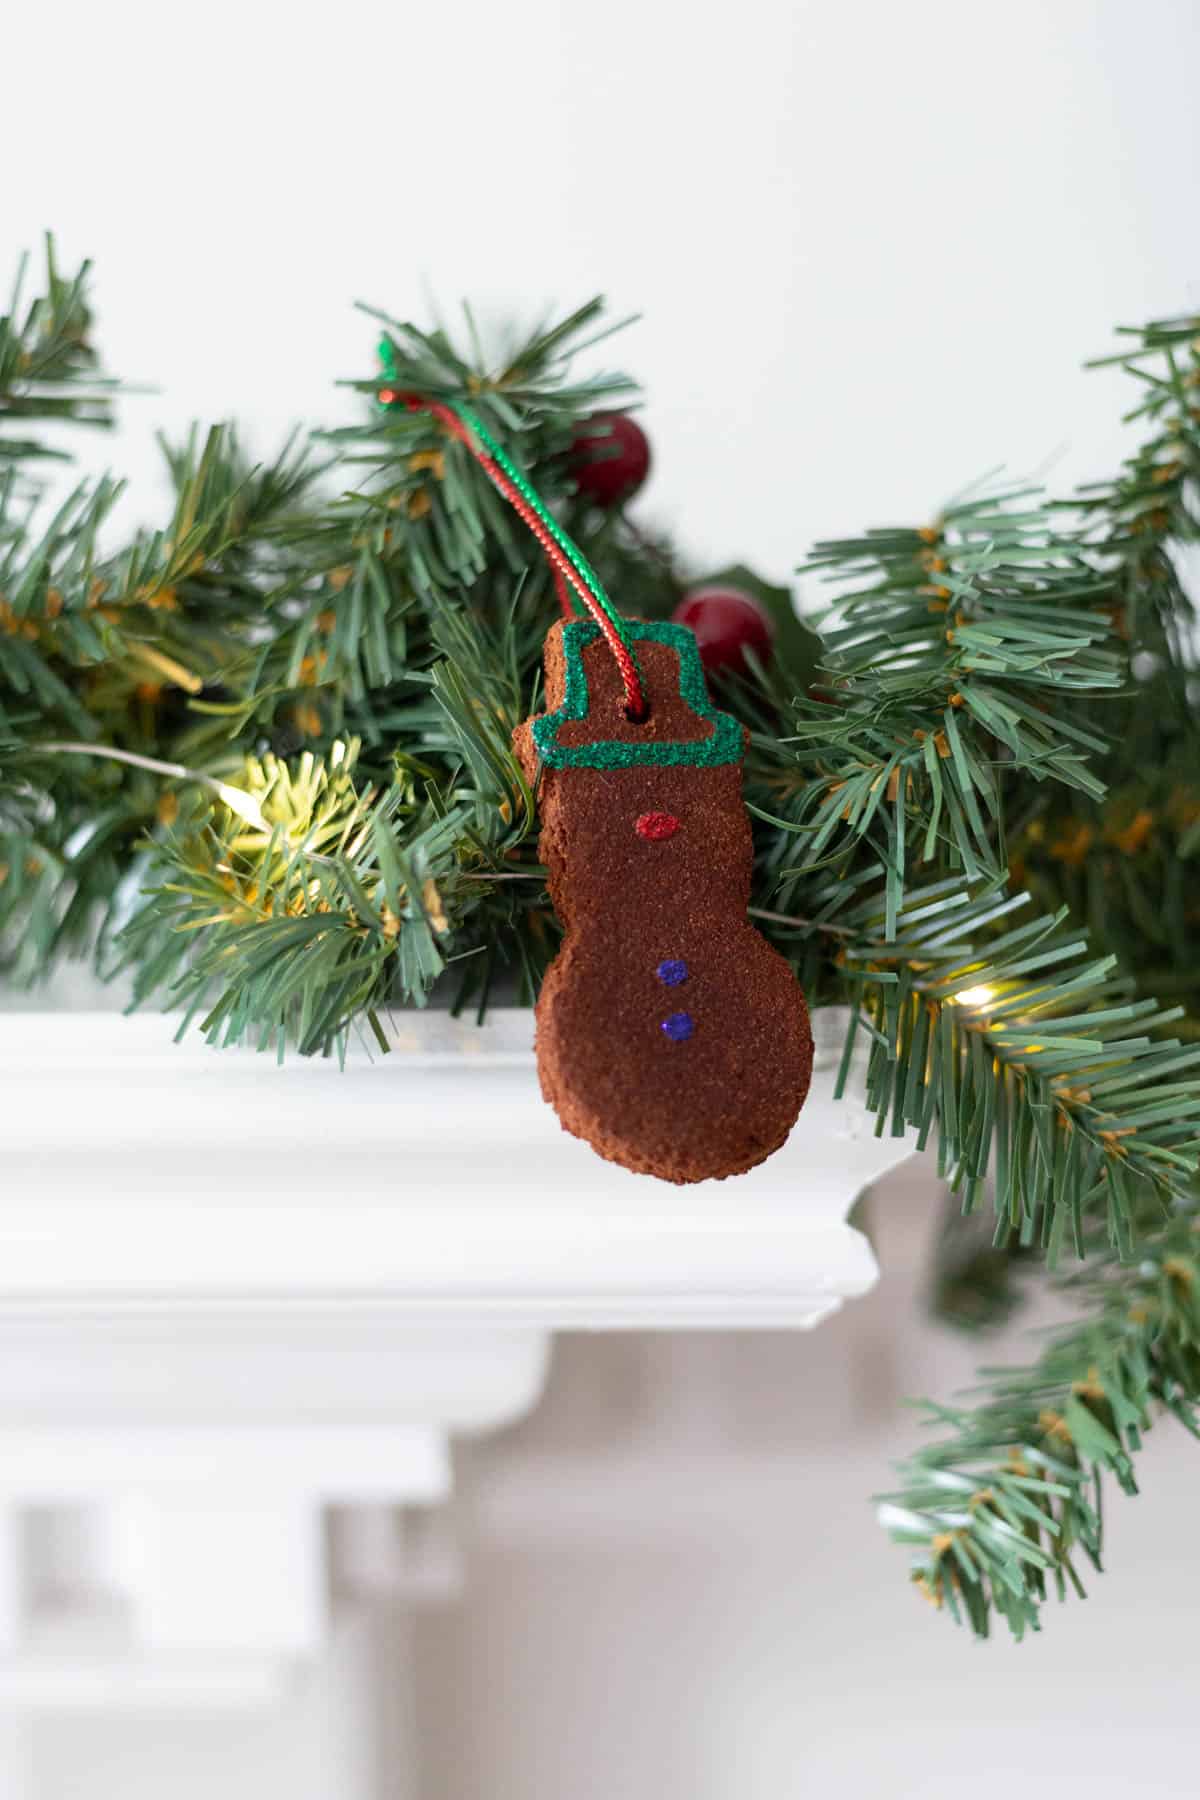
My mom and I decided to make new cinnamon ornaments last year, and we had a ton of fun making and decorating them. The decorated ornaments you see in this post are from last year, and yes… they smell just as cinnamony as they did when we made them almost a full 365 days ago.
We definitely learned a lot from our adventures in cinnamon ornament-making last year, so I decided to document them for you today!
The Ingredient Lineup
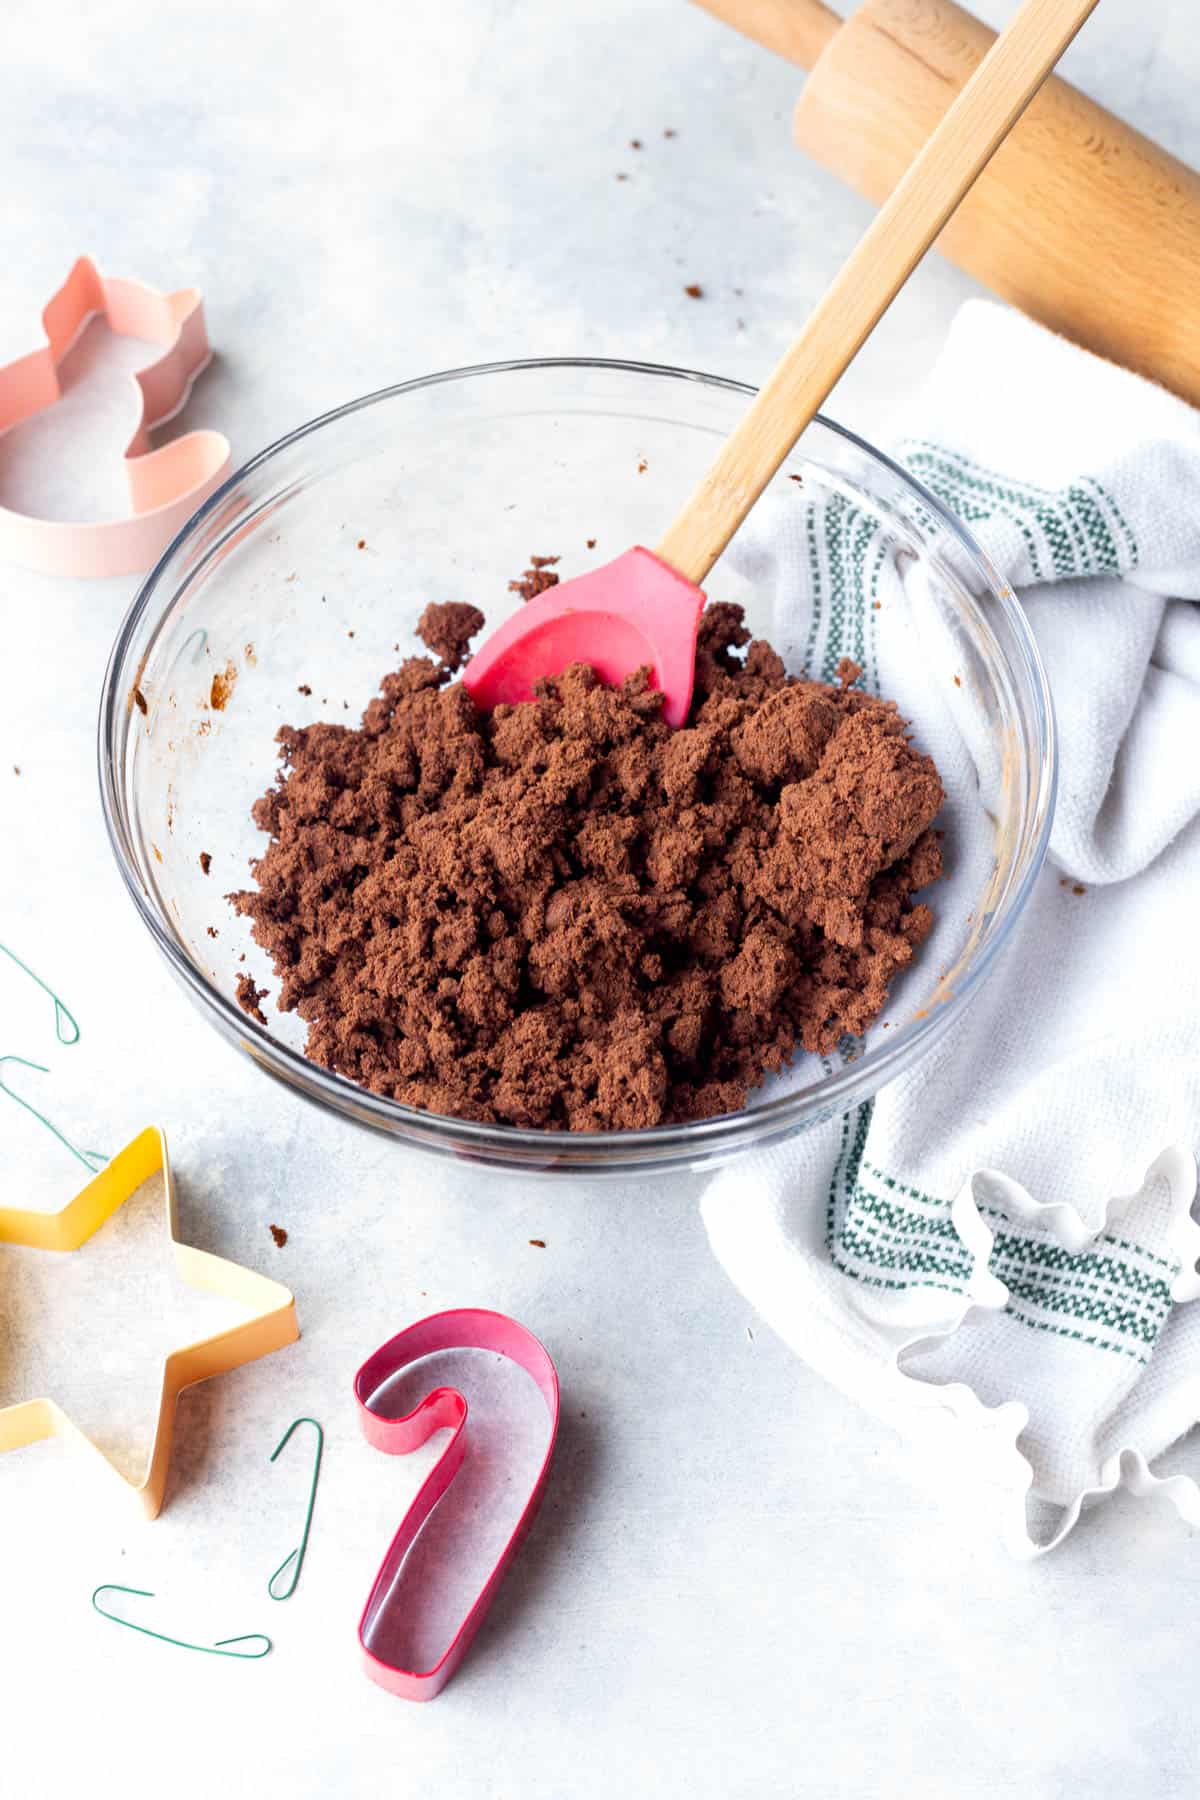
First of all, you’ll only need two ingredients to make your ornament dough: applesauce and cinnamon.
I’m always surprised at how much cinnamon you actually need to make these –– two full 2.37-ounce bottles of the stuff! Be sure to use generic, cheap cinnamon because A) You use a lot of it, and B) I think the texture is better and easier to work with.
We used the fancy Saigon cinnamon from Costco last year (my fave), and while it made the ornaments smell even better and spicier, I think it’s ground much more finely, and it was harder to get the right texture for the ornament dough.
I would also recommend using a plain, unsweetened applesauce. We used sweetened applesauce last year, and again, I think it caused the dough to be more difficult to work with.
The Ornament Dough
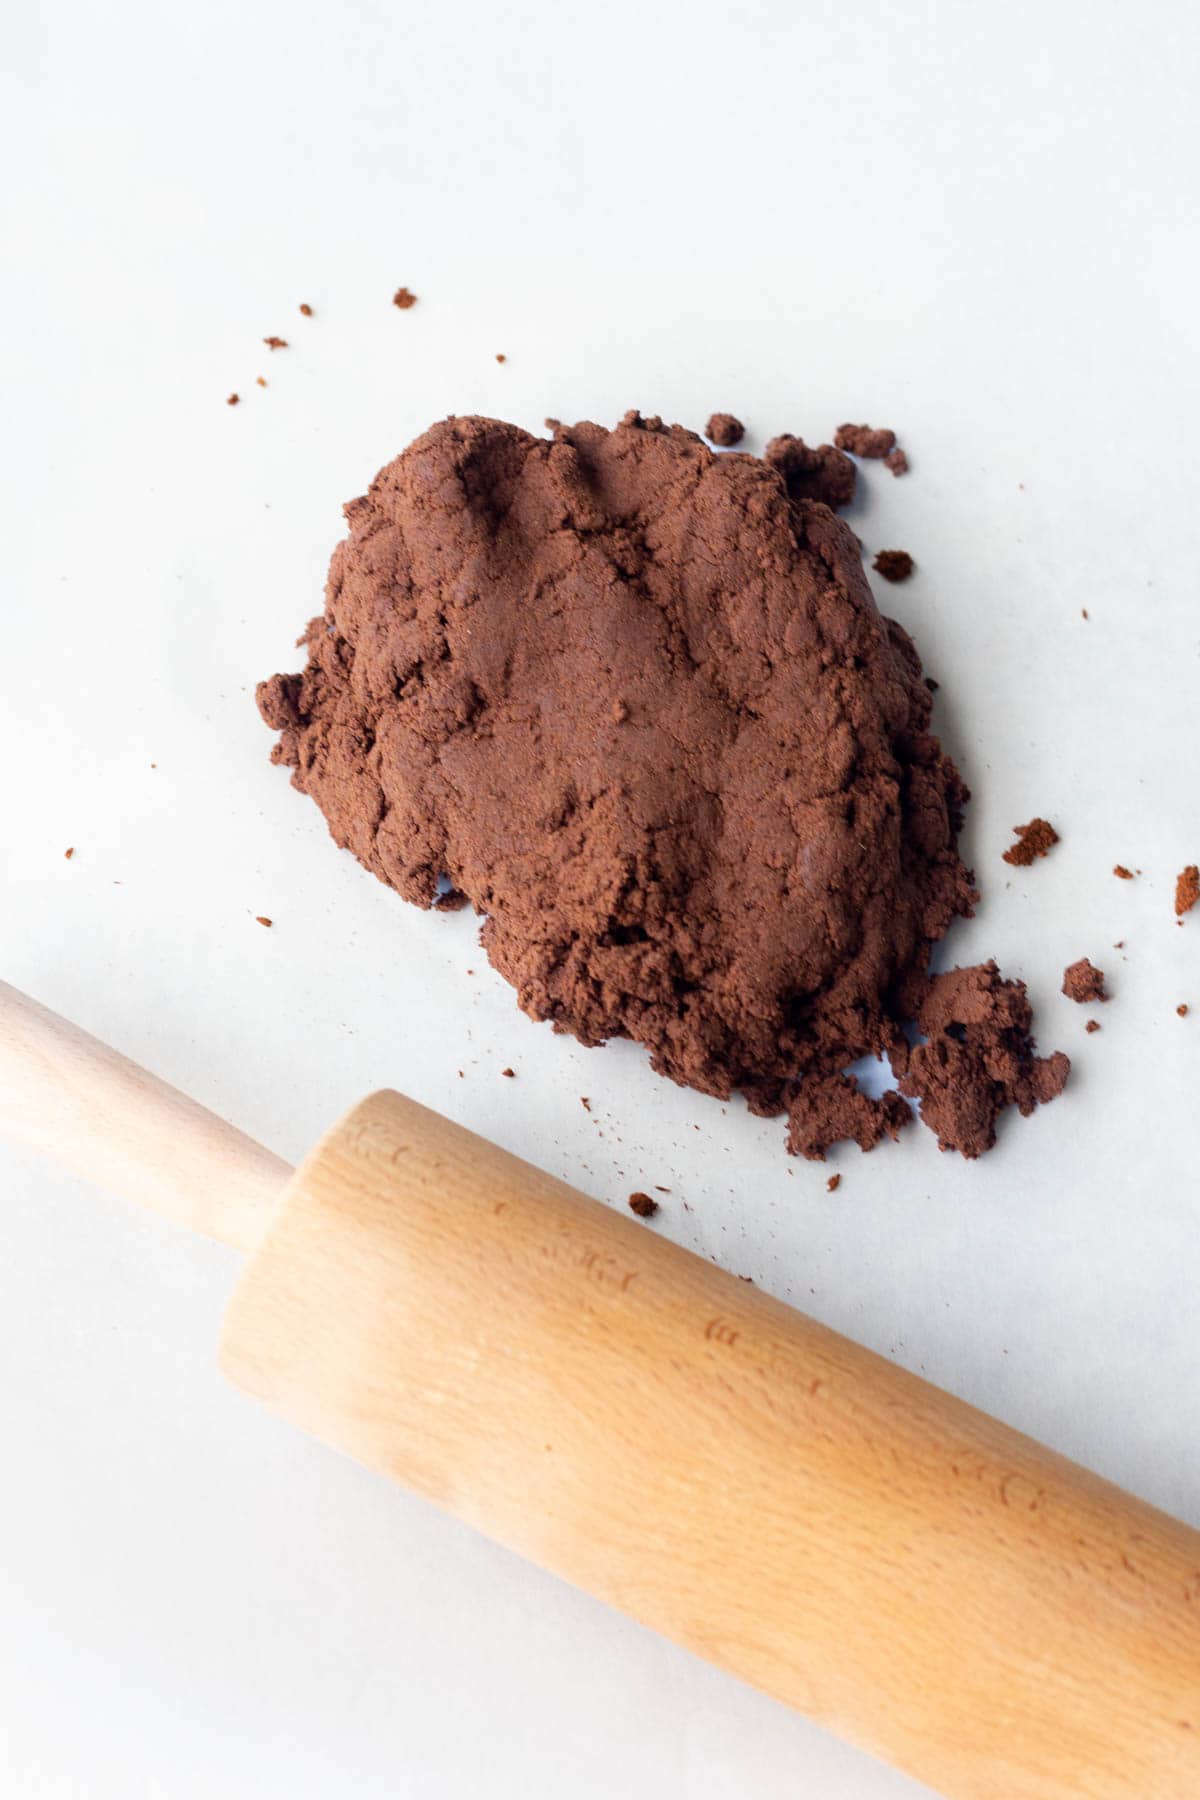
As for the dough texture, it should be able to be pressed into a ball, but it shouldn’t be overly sticky or wet. The general ratio is 3/4 cups of applesauce to 4.74 ounces of cinnamon. But I needed a bit more applesauce to make it easy to roll.
The dough pictured here is actually a bit on the dry side, so you’ll see some splintering in some of the ornaments. It doesn’t actually make the ornaments less sturdy (once they’re fully dry, they’re hard and sturdy!), it just doesn’t look as nice. That said, the backs of these ornaments are totally smooth, so I’ll end up having that side face out.
You’ll also want to roll your dough out on parchment paper so that it doesn’t stick to your surface. You can put a piece of parchment over the top to help you roll as well, but I found that doing that caused some unsightly creases in the dough that I really didn’t love.

Cutting & Baking
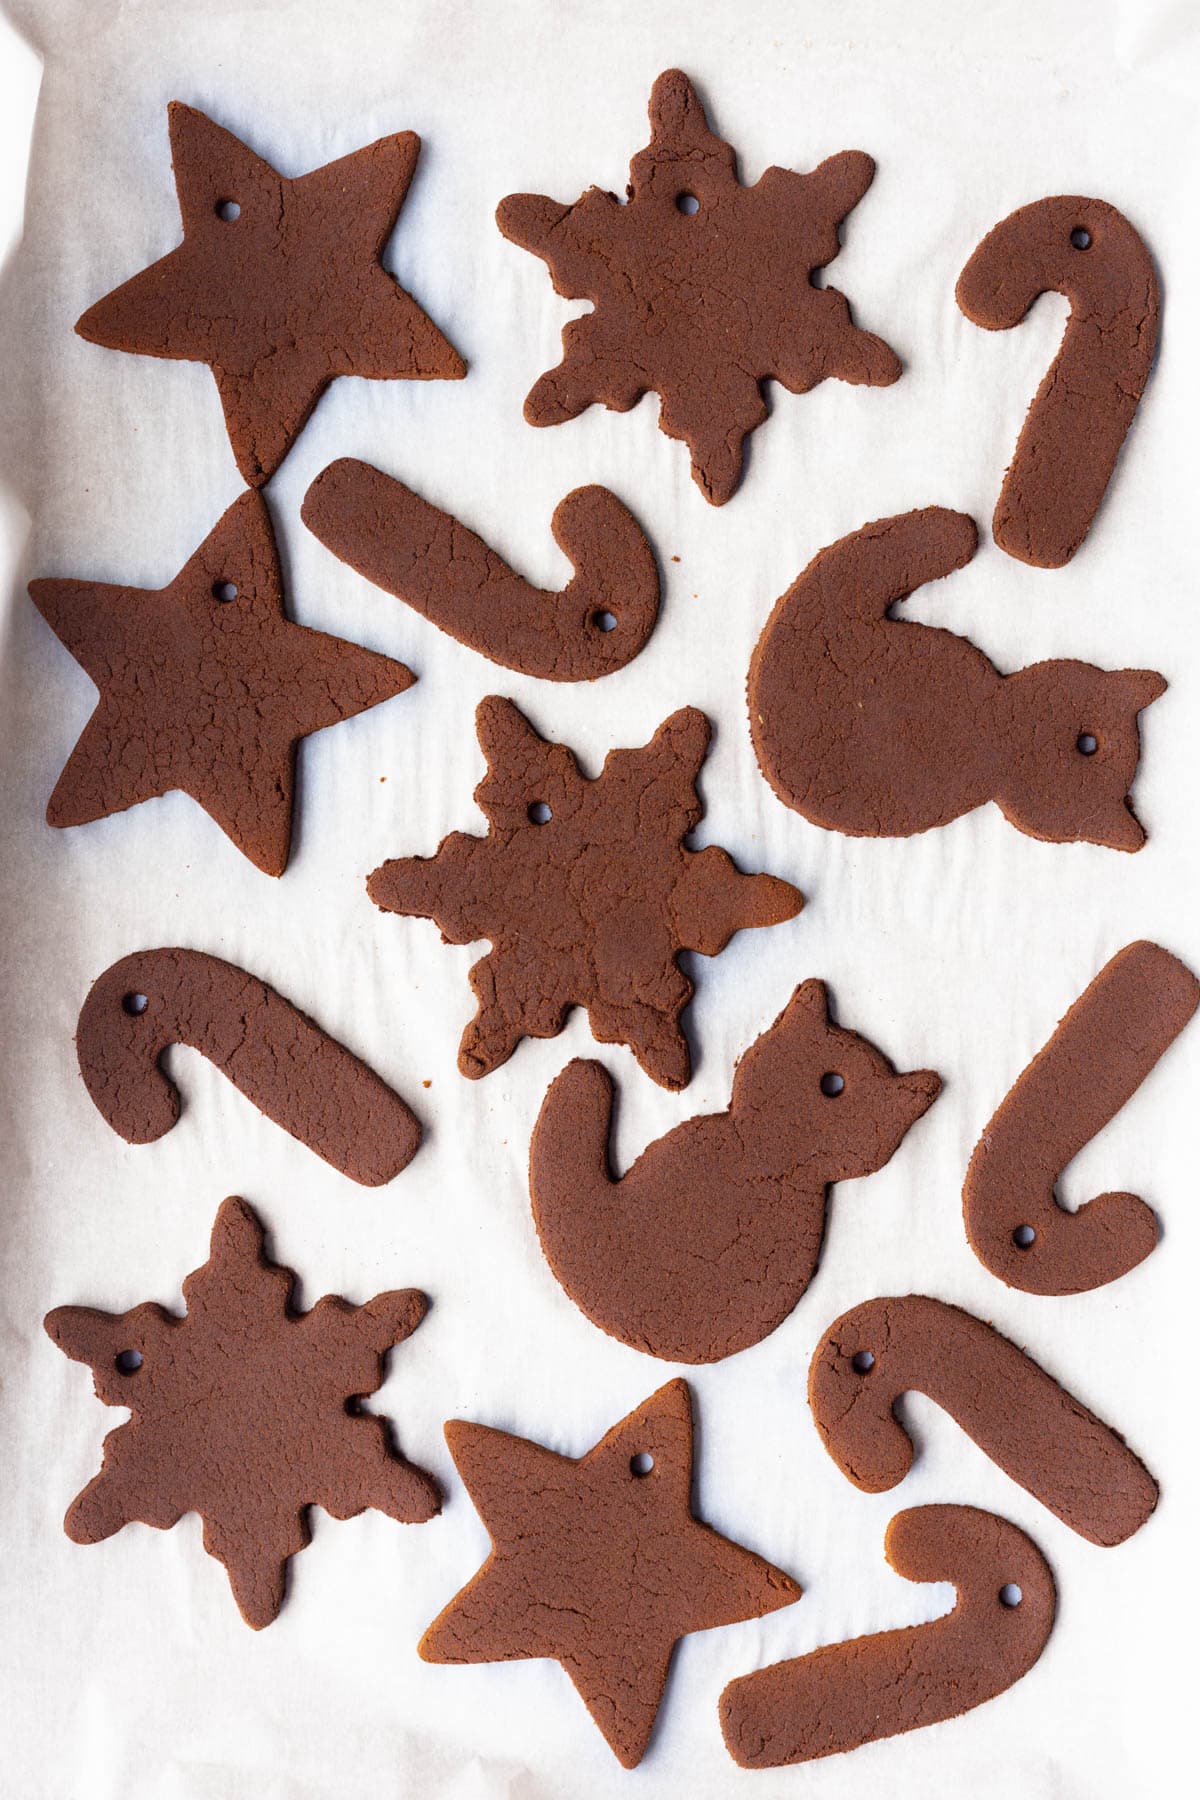
Once you have your dough rolled out 1/4-inch thick, it’s time to cut! Use your favorite holiday cookie cutters, biscuit cutters, or stamps, or carefully cut out shapes with a sharp knife. The larger your cutters, the less ornaments you’ll get from your batch. I used relatively large cutters this year, and I ended up getting 14 total ornaments after re-rolling the dough once.
Keep in mind that the more intricate your cutters, the easier it is for the shapes to break and tear as you’re cutting them out. I learned that the hard way last year.
If you find that your edges of your ornaments are a bit craggily after cutting, feel free to use your finger to try and smooth them out. You can also wait until they’re baked and cooled to carefully sand the rough edges with sandpaper.
Once cut, feel free to punch a hole through the ornaments with a straw, but be sure the hole isn’t too close to the edge, which could cause the hole to split. You can also skip this step and just hot glue a ribbon onto the back once they’re cool! We did a few like that last year, and it worked out perfectly!
They bake for a while –– 2ish hours at 200 degrees F –– and they need at least a full day to fully dry out uncovered at room temperature on a cooling rack. If you have curious kids or pets, be sure to keep them out of a hand’s or paw’s reach!
Decorating!
As for decorating, feel free to get as creative as you want! We used glitter glue, ribbons, charms, and bells last year, and I think they turned out so cute. You can also use something like a puffy or acrylic paint. Or just keep them plain!
I’ve been in such a DIY mood recently, and I couldn’t love these ornaments more. They make your tree (or in my case, garland) smell so holiday-y, and they couldn’t be more fun or easy to make.
If you decide to give them a try, I’d love to see how they turn out for you! Take a pic and tag me on Instagram at @fooduzzi!
2 Ingredient Cinnamon Tree Ornaments
A super fun, easy, kid-friendly holiday craft! These ornaments will smell cinnamony for years to come, and they’re always so fun to decorate!
- Prep Time: 20 minutes
- Cook Time: 2.5 hours
- Total Time: 0 hours
- Yield: 14 – 20 ornaments
Ingredients
- two 2.37-ounce containers of generic cinnamon
- 3/4 cup unsweetened applesauce, plus more as needed
- your favorite cookie cutters, biscuit cutters
- any kind of decorations like ribbon, hot glue, ornament hangers, puffy paint, glitter glue, etc.
Instructions
- Preheat your oven to 200 degrees F. Line a baking sheet with parchment paper.
- Add your cinnamon and applesauce into a large bowl. Mix well with your hands until a dough forms that can be squished into a ball. If it’s too dry, add an additional tablespoon of applesauce at a time, mixing between each addition, until the right texture is achieved. When rolled, the dough should be flat without cracks but not sticky (to be fair, my dough in the photos was a little too dry. They still worked out, but the finish wasn’t as pretty).
- Lay a piece of parchment paper onto your working surface and place your dough ball on top. Roll with a rolling pin until 1/4-inch thick.
- Using your cutter of choice, punch out shapes, and transfer the ornaments to your prepared baking sheet. Feel free to re-roll the dough scraps as many times as you can! If your edges are a bit craggily, use your finger to carefully smooth them out or wait until they’re baked and dried to carefully sand the edges to make them more smooth.
- Optionally punch a hole into each ornament where your hanger will go. Alternatively, don’t and just hot-glue a ribbon or hanger to the back once they’re baked and dried.
- Bake for 2 hours, or until dried through.
- Immediately and carefully transfer your baked ornaments to a cooling rack and cool for at least 24 hours, or until completely dry.
- Decorate as desired, and hang on your tree, garland, or wreathes!
- Store in an air-tight container with your other ornaments. I like to wrap each in a paper towel so that they don’t break!
- It should go without saying but don’t eat these ornaments. They’re for decorating, not for eating.
Notes
Recipe from McCormick.


Leave a Reply